The Tailor’s Ham: Your Essential Sewing Sidekick
If you’re venturing into the wonderful world of sewing or you’re a seasoned stitcher, you’ve likely come across a curious tool called the tailor’s ham. This versatile, seemingly simple piece of equipment can elevate your sewing game, whether you’re working on your first project or perfecting couture-level garments. Let’s dive into what makes the tailor’s ham indispensable for sewists of all skill levels.
What Is a Tailor’s Ham?
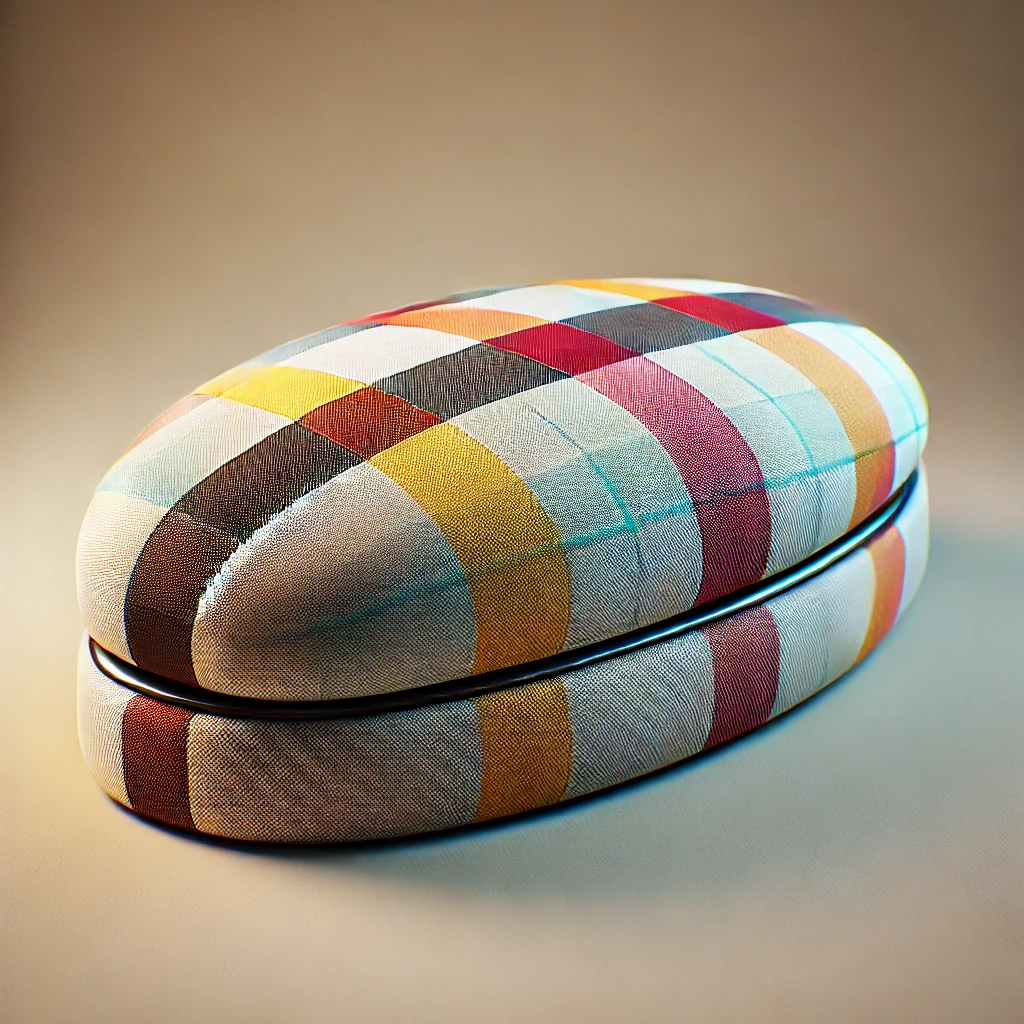
A tailor’s ham is a firm, rounded cushion, typically made of tightly stuffed cotton or wool. Its unique shape resembles a ham (hence the name) and is designed to support pressing tasks that require precision. The ham’s curved surface makes it ideal for shaping fabric to fit the contours of the body, ensuring smooth seams and professional finishes.
Most tailor’s hams feature two sides:
- A cotton side, which is perfect for pressing lighter fabrics.
- A wool side, designed for pressing heavier materials and accommodating higher heat settings.
Why Every Sewist Needs a Tailor’s Ham
A tailor’s ham isn’t just a nice-to-have—it’s a must-have for creating well-constructed garments. Here’s why:
- Perfectly Pressed Seams: Achieving a crisp, smooth finish on curved seams, darts, or princess lines is challenging on a flat ironing board. The tailor’s ham allows you to press these areas without distorting the fabric.
- Shaping Made Simple: Whether you’re sewing a bust dart, setting a sleeve, or shaping a collar, the ham helps create natural, body-like contours in your fabric.
- Professional Results: Proper pressing is the key to turning a homemade garment into one that looks store-bought. The tailor’s ham ensures even pressing and eliminates puckers.
- Versatility: This tool works with all fabric types, from delicate silks to sturdy wools, and it’s suitable for projects ranging from apparel to home decor.
How to Use a Tailor’s Ham
Using a tailor’s ham is straightforward, but these tips will help you get the most out of it:
- Choose the Right Side: Use the cotton side for lightweight fabrics and the wool side for heavier fabrics.
- Position the Ham: Place the ham under the area you’re pressing. For example, slide it under a curved seam or a dart to provide support.
- Press, Don’t Iron: Use a pressing motion rather than dragging the iron. This avoids stretching or distorting the fabric.
- Use Steam: Steam is your best friend when pressing curves. It helps relax the fabric and set the shape effectively.
Care Tips
To keep your tailor’s ham in top condition:
- Store it in a dry place to avoid moisture damage.
- Spot clean with a damp cloth if necessary. Avoid soaking it, as this can damage the stuffing.
Where to Get a Tailor’s Ham
You can find tailor’s hams at most fabric stores, sewing supply shops, or online retailers. If you’re feeling crafty, you can even make your own with some fabric scraps and sawdust or wool stuffing. Tutorials abound for DIY tailor’s hams, and creating one can be a fun, budget-friendly project.